
Unlocking the Power of Excel Slicers: An Interactive Guide
Hello there, Excel warriors! Are you ready to take your Excel skills to the next level? Today, we’ll explore the power of Excel Slicers and walk you through how to insert slicers in Excel, use PivotTable slicers, and more.
1. Excel Slicers – An Overview
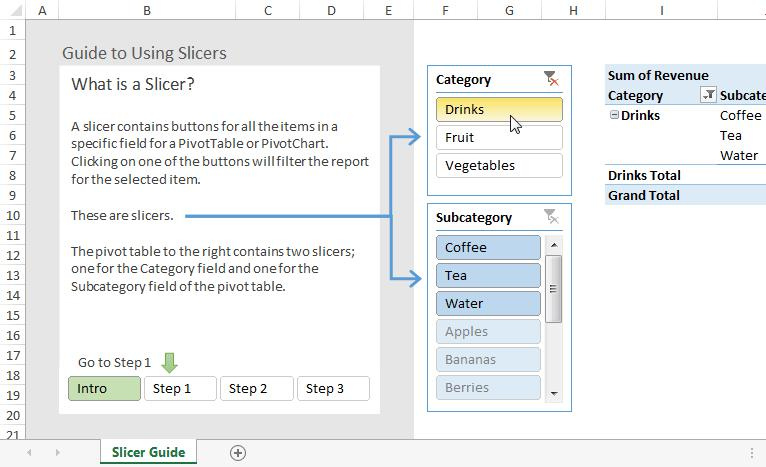
An Excel slicer is a tool that provides a simple, intuitive way to filter data in Tables, PivotTables, PivotCharts, and Power PivotTables. slicers have improved the user experience by providing a visual, interactive way to filter data.
A slicer displays a set of buttons, one for each unique value in the selected column. Users can then filter the data by selecting one or more buttons, which will limit the data displayed in tables or charts accordingly.
Slicers can be formatted and customized to match the look and feel of your reports or dashboards, making them an excellent tool for presentations, reports, and data exploration.
Excel slicers are dynamic, visual tools that make your data interactive and fun to explore. They transform the way you extract and analyze information from your tables or PivotTables. But, what exactly is a slicer in Excel? Let’s discover!
Here Complete tutorial vedio on How To Use Excel Slicer
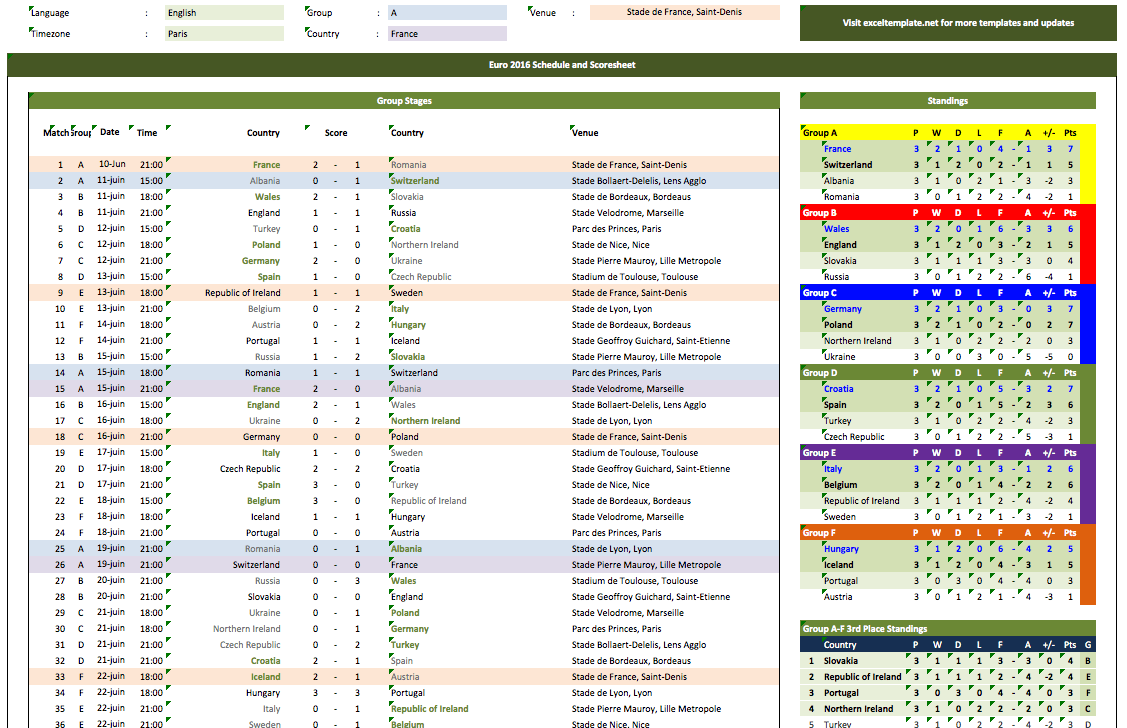
Create your Excel Data in Interactive Excel Dashboard
2. The Magic of Slicers in Excel
Slicers are visual filters. Rather than using complex formulas or hidden drop-down menus, slicers present your options clearly, with a simple select and de-select interface.
3. How to Insert a Slicer in Excel
No magic incantations needed here, the process to insert a slicer in Excel is quite straightforward. Before we start, it’s good practice to have your data in a table format. You can convert your data range into a table by selecting your data and clicking Insert > Table from the ribbon.
3.1. Inserting Excel Slicers with Tables
- Click within your table. Before that you need to select the data go to insert and then insert table.
- Select
Insert>Slicerfrom the ribbon. - A dialog box will pop up with all the columns from your table. Select the ones you need a slicer for and click
OK. - Voila! Your slicer will appear, ready for action.
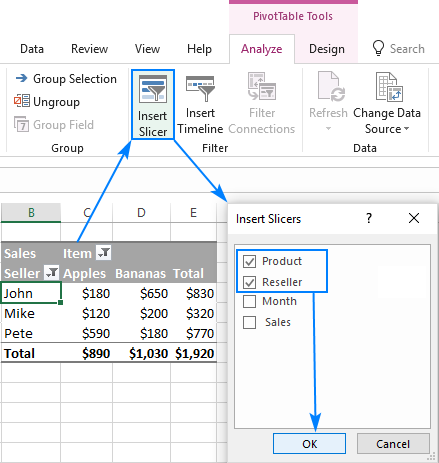
3.2. Inserting PivotTable Slicers
- Click within your PivotTable.
- Navigate to
Analyze(orOptionsfor Excel 2010) >Insert Slicer. - Select the fields for which you need a slicer from the dialog box and click
OK. - Your PivotTable slicer is ready to slice and dice!
 Insert Pivot table slicer
4. Unleashing the Power of Customization
The real magic begins when you customize your Excel slicer to match your needs and style.
4.1. Resizing and Moving
Drag and reposition your slicer like a shape to make it fit your aesthetic.
4.2. Slicer Styles
Add a dash of color to your slicers using Slicer Tools > Options > Slicer Styles.
4.3. Multiple Columns
If your slicer is crowded, organize your options into neat columns using Slicer Tools > Options > Buttons.
4.4. Multiple Connections
In Excel 2013 and later, you can connect one slicer to multiple PivotTables or tables. Right-click on the slicer, select Report Connections, and connect your slicer to your heart’s content!
5. Maintaining Your Slicers
5.1. Clearing a Slicer
Clear your slicer filter by clicking the top right icon on your slicer. This action clears the filter, not the slicer itself.
5.2. Removing a Slicer
If you no longer need the slicer, select it, and press Delete.
And there you have it! A compelling journey into the world of slicers in Excel. With this guide, you are ready to insert a slicer in Excel, use a PivotTable slicer, and customize your slicers. Let the power of Excel Slicers transform your data analysis and visualization.
6. Advanced Excel Slicer Techniques
You’ve mastered the basics, so let’s now dive into some advanced slicer techniques that will further enhance your Excel expertise.
6.1. Creating a Timeline Slicer (For PivotTables only)
A Timeline slicer is similar to a regular slicer. It lets you filter based on time-related fields. Note, this feature is available in Excel 2013 and later and works only with PivotTables.
- Click within your PivotTable.
- Go to
Analyze>Insert Timeline. - In the dialog box, select the date fields for which you want to create a timeline and click
OK. - The Timeline slicer is ready to use.
6.2. Filtering with Slicers
Filtering your data with slicers is as simple as clicking on the values you want to see. To filter for multiple values, just click on the additional values in the slicer.
To select a continuous sequence of values, click on the first value, press and hold the Shift key, and then click on the last value. For non-continuous selection, use the Ctrl key instead.
6.3. Sorting Data with Slicers
You can also sort data using slicers. Simply go to Slicer Tools > Options > Sort and select your preferred sorting option.
7. Troubleshooting Excel Slicer Issues
Despite their utility, slicers can sometimes be challenging. Let’s review a few common issues and how to solve them:
7.1. Slicer Grayed Out
If you find that the Insert Slicer option is grayed out, it’s likely because your data isn’t in a Table or PivotTable. Make sure to convert your data range into a Table or use a PivotTable.
7.2. Slicer Not Filtering Data
If your slicer isn’t filtering data, ensure that it’s connected to the correct Table or PivotTable. You can check and establish connections by right-clicking on the slicer and selecting Report Connections.
8. Conclusion
So, there you have it – an in-depth journey into the world of Slicers in Excel. You’re now not just familiar with how to insert a slicer in Excel, but you’ve also mastered the art of using and customizing a PivotTable slicer. Armed with these skills, you’re all set to enhance your data analysis and reporting tasks in Excel. Don’t forget, practice is key when it comes to mastering Excel slicers. Happy slicing!
Stay tuned for more insightful and engaging Excel tutorials! Remember, the more you explore Excel, the more you’ll discover its boundless possibilities!